Overview
Microsoft Dynamics CRM comes with Bing Maps integration out of the box. For Online instances, simply navigate to the System Settings > General area to enable Bing Maps for your organisation and ‘bingo’ you’ve got a fully functioning mapping solution complete with satellite view. Bing Maps integrates nicely with CRM, giving you full visibility over where your Customers reside. Bing Maps, by default, uses the address 1 Field on the Account Entity (giving you the option to change this to Address 2).
But what if you want to implement Google Maps within your organisation. You may ask, why would I want to do that? Well there’s one standout reason: Street View. Adding Google Maps to your Form via an HTML Web Resource gives you full Google Maps Street View functionality for the Account and Contact Entities.
Note: Full credit goes to Warren Rapson for the code. He states Google Maps tends to be more accurate and locates more addresses within CRM than Bing Maps. You can grab the HTML (required later) from his blog here
Tutorial
Create a new section and place anywhere within your Account or Contact Form. I chose to place the Section below the Address Composite Field and labeled the Section ‘Google Maps’:

Ensure the newly created Section is selected and insert a new Web Resource:

From the Web Resource Lookup Field create a new Web Resource:

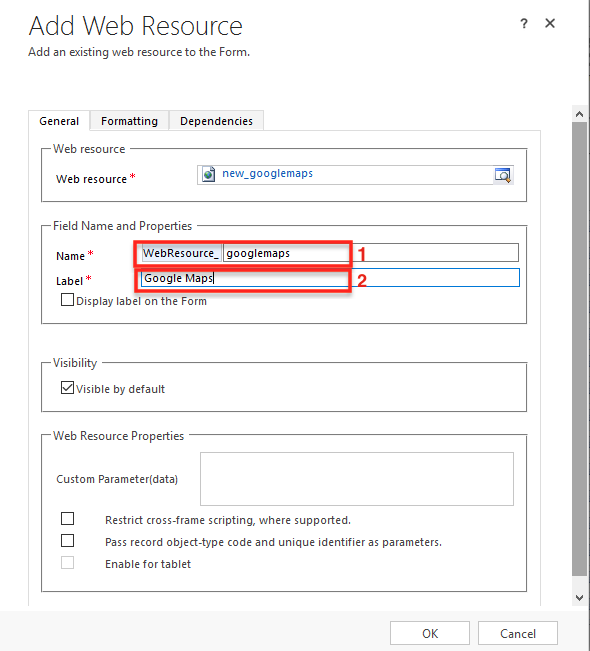
Now we have our new Web Resource Form, let’s fill out some details (the name Fields don’t have to follow any specific naming convention):
- Name – googlemaps
- Display Name – Google Maps
- Type – HTML
- Upload File – Navigate to the aforementioned blog post and copy the code. Save the code within an HTML file (I use Notepad++ for this, but there are plenty of options). Using the Upload File browser button, navigate to the File on your PC and open it
- Save – Save the Web Resource
- Publish – Publish the Web Resource
- Preview – Use this to check the HTML is working as expected. You can see in the image below the default map location that is set if an Address isn’t populated in the Address 1 Field (Australia, zoom level 4)

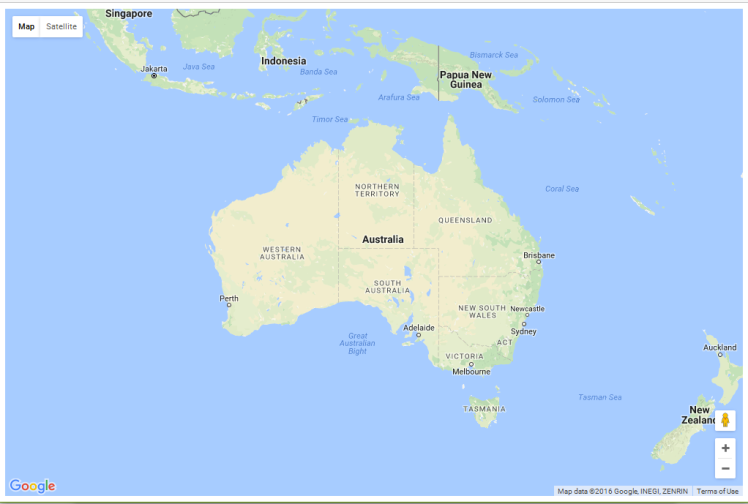
Great, we can see the map functionality is functioning as expected.
Closing the two previous windows, we should now be back and ready to select our newly created Web Resource within the Lookup Field (you may have to search by name if you have a large number of existing Web Resources):

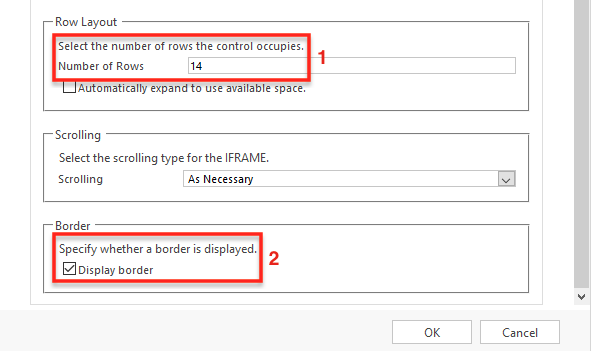
Fill in the Web Resource details within our Form Component. Once you have entered a Name and Label, navigate to the Formatting tab. Here we can specify the length of our Web Resource (I chose 14 rows) and uncheck the box labelled ‘Display Border’ (if you would like a black box surrounding the map then leave this checked):
Scroll down through the Formatting tab to reveal the options. Once this has been configured click OK:
We should now be back at the Account Form Customization area. Time to Save & Publish!

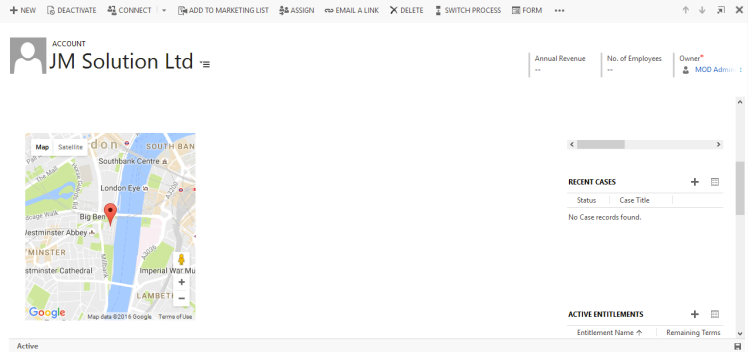
Refresh your Account or Contact Record and voila you have Google Maps on your Form making use of the Address 1 Field. As you can see the Pin is signifying the Address Location just as Google Maps would within your browser. Drop the yellow man anywhere on the map to enter Street View:

Additional
As shown above, adding Google Maps to Dynamics CRM gives us a little more than the out of the box Bing integration. Integrating Google Maps and Dynamics CRM could have a number of uses. One use that springs to mind is within an Organization that makes use of a route planning solution. Being able to plan their route within their 3rd party solution and then consult Street View to get a good look at the location.
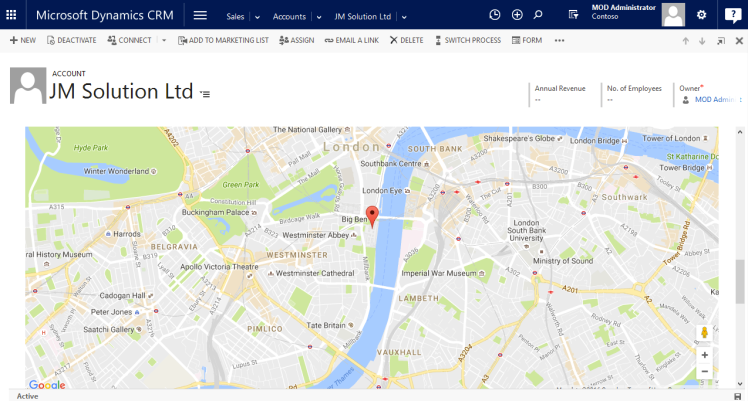
You may choose to set this up so the Section spans more columns and has an increased length. In the example below, I’ve placed my Section in a new Tab, spanning 3 columns, and increased the Section Length to 24:

I hope you found this post informative. Once again, many thanks to Warren Rapson for the HTML!
